What you will need
- Pencil
- Masking tape
- Tape measure
- A spirit level
- A drill
- An adjustable spanner
- Small hammer or rubber mallet
- Shelf
- Floating shelf brackets
If you are drilling into the plasterboard, it’s recommended that plasterboard fixings are used. Unfortunately, we do not currently provide or supply these.
Which type of brackets should I get?
When choosing the type of floating shelf brackets you are going to use, please take into consideration the type of wall you are installing them onto:
Standard Screw Floating Shelf Brackets
Recommended for installation on brick, wooden or masonry walls. Our fitting consists of:
- 1x Supporting pin with screw, hardened steel
- 1x Washer, galvanized steel
- 1x Wall plug, SR 10 60 mm, grey nylon
Adjustable Plate Floating Shelf Brackets
Can be installed in plasterboard with plasterboard fixings (not provided), wooden, masonry and brick walls.
Adjustable brackets for shelving are designed to allow you to adjust your shelving against a wall that may be slightly slanted so that the shelf stays horizontal. The brackets usually consist of both the bracket that is mounted to the wall and the shelf support attached to it. These two mechanisms support the shelf.
If you are using adjustable shelf brackets, then you will also need to buy 50mm screws. If you are drilling into brick, you will also need a 7mm raw plug.
Installation Steps
Step 1: Ensure that the area you are fitting the shelf to has no electrical cables or water pipes installed within the wall. You can do this with a pipe, cable, or stud detector if you have one. If in doubt, consult with a tradesman to determine this. Please do not try and install your shelving without having done this.
Step 2: If you are installing your shelves onto a plasterboard wall, you will need to find two studs in your wall to anchor your shelves. Studs are two vertical wooden supports in the framework of your wall. You can do this using a stud detector (not supplied). Use your pencil and spirit level to draw a horizontal line on the wall where you intend to fit your shelf board. The line should be as long as the distance you will have between the holes into which the brackets will be drilled.
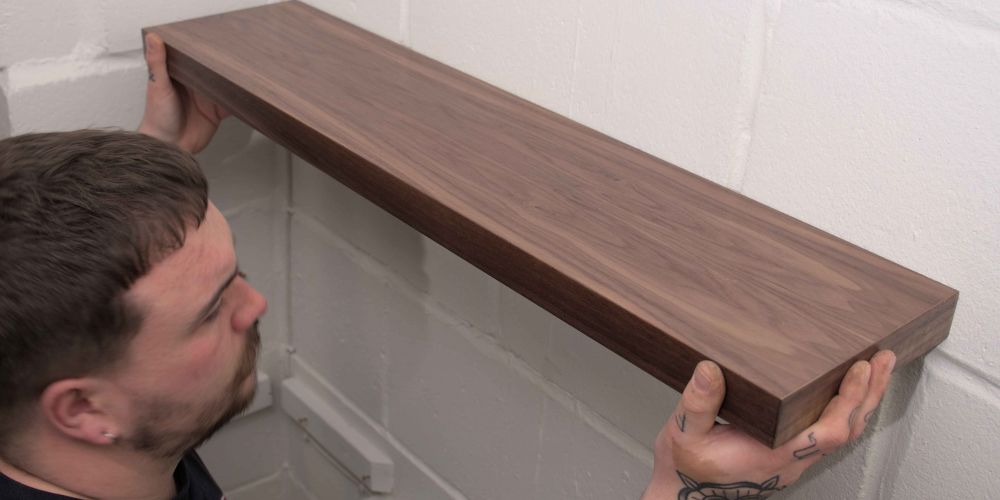
Step 3: Lift your shelf up against the wall, and use it to mark along your horizontal line where the first bracket should go by placing a dot or a line at the centre of where the drilled holes will be. You can then mark the distance to the second bracket.The more accurately this is done, the easier the rest of the installation should be.
Step 4:
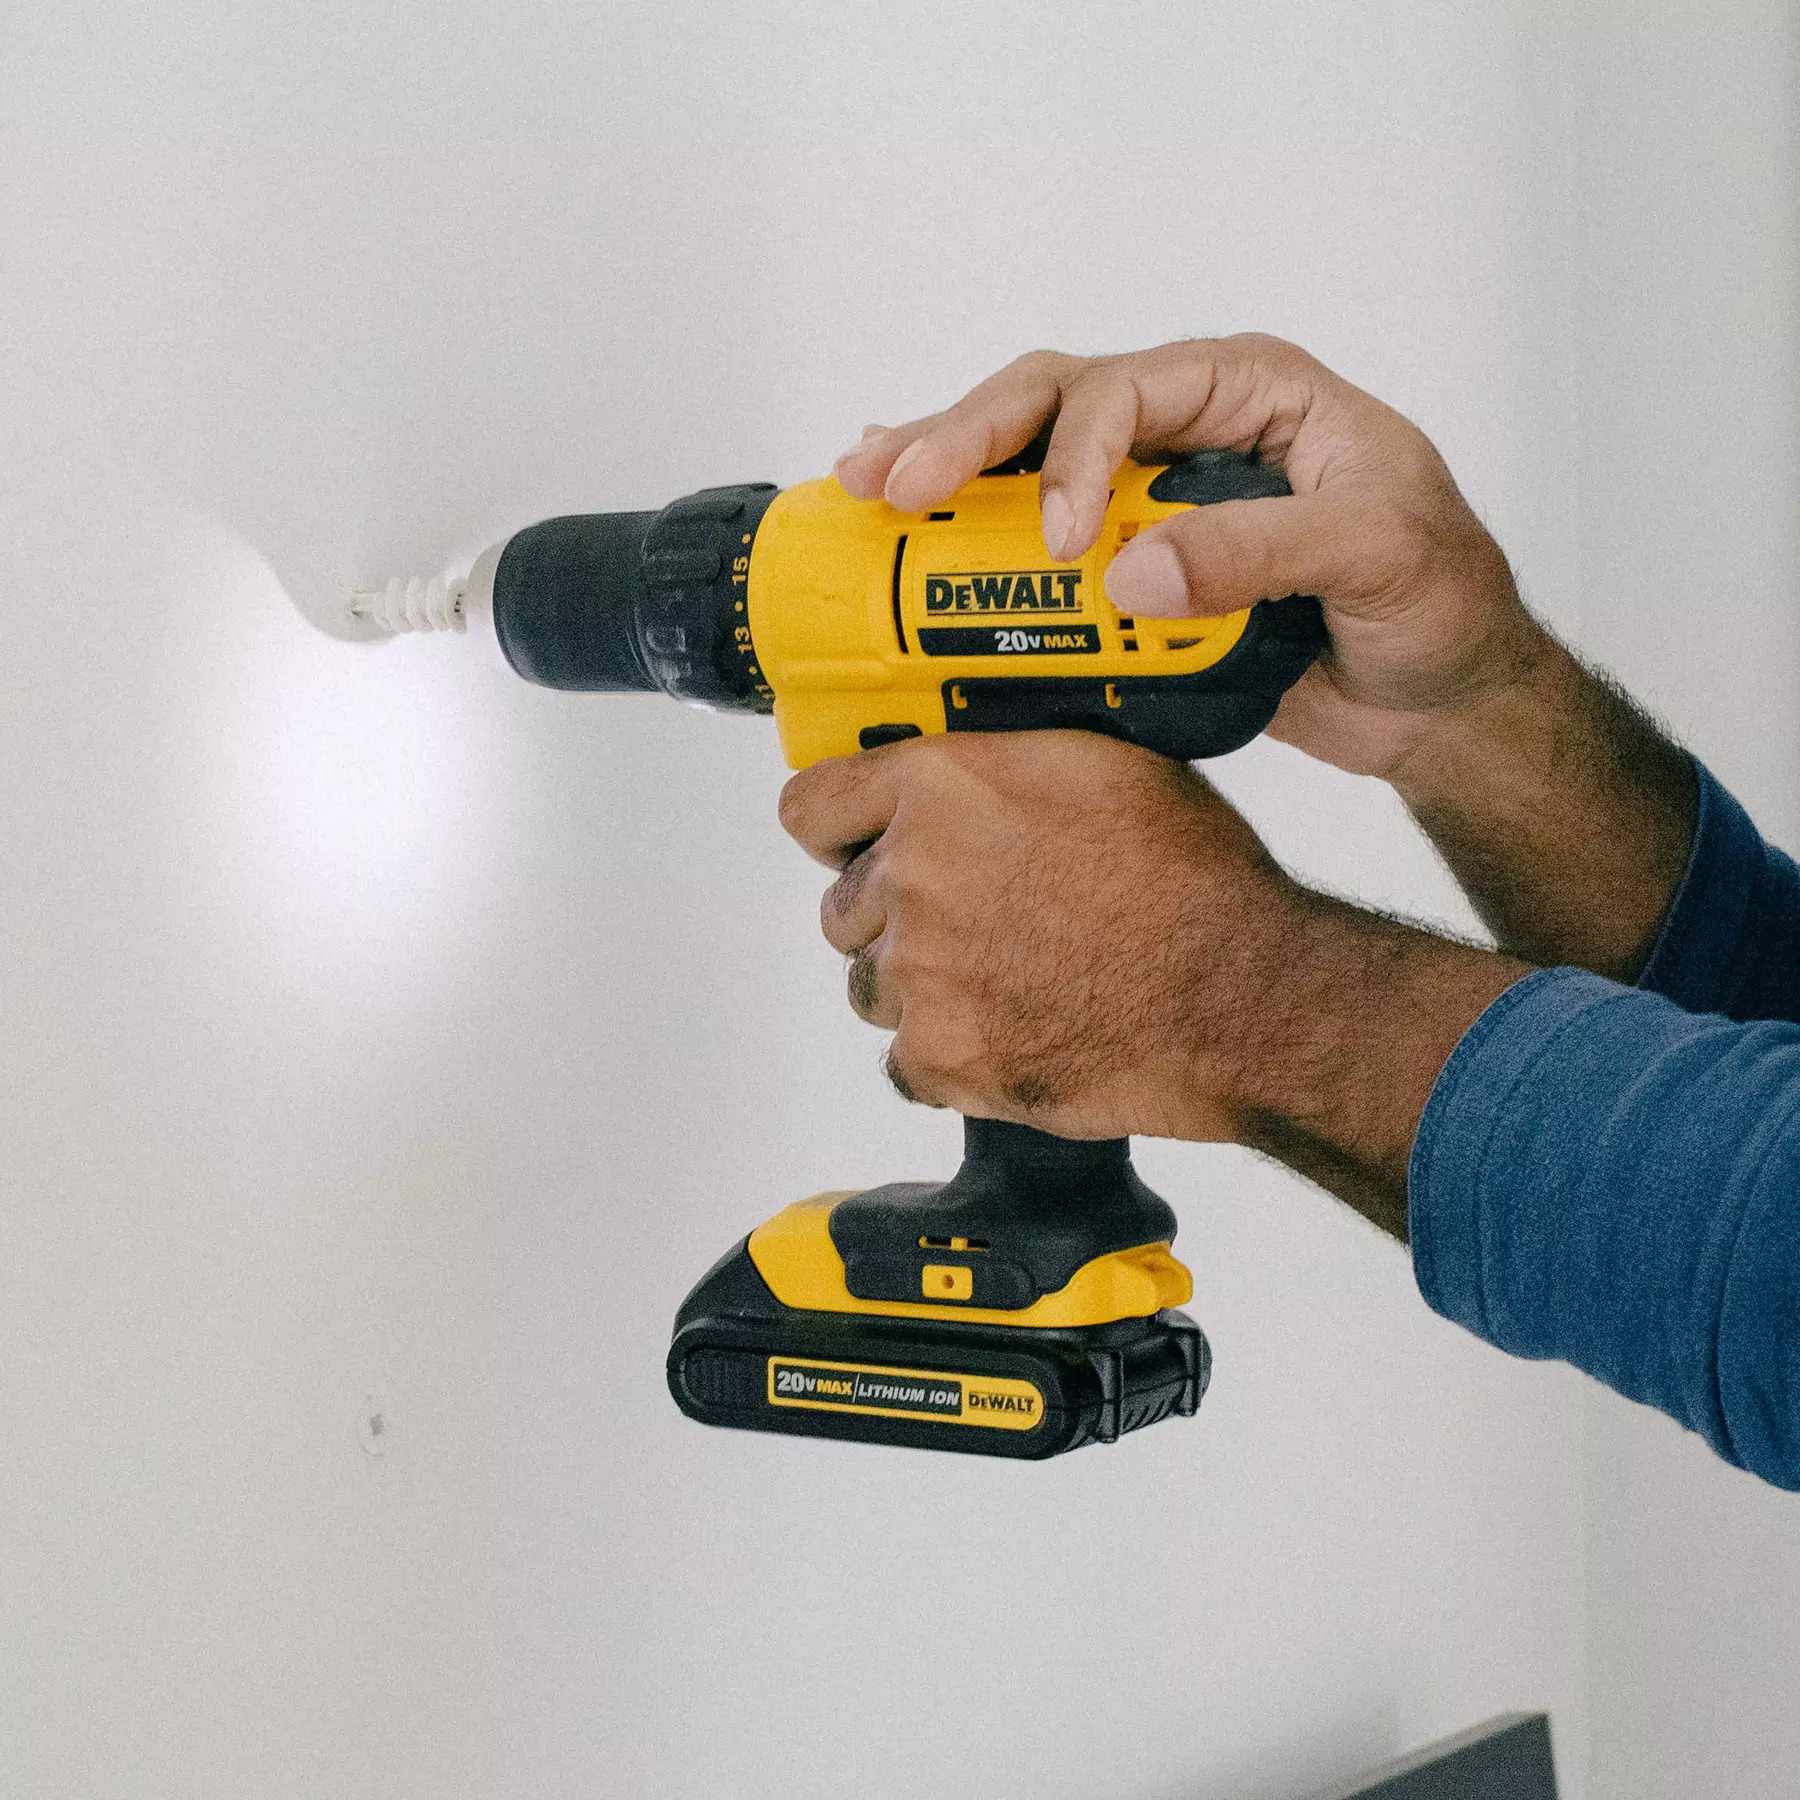
For Standard Brackets: Use a 10mm masonry bit and drill a hole 60mm into the wall at the centre point of your marks on the wall. Keep the drill as level as possible with the drill bit perpendicular to the wall. You can determine the depth that you’re drilling by wrapping some masking tape around the shank of the drill bit, 60mm from the drill point of the drill bit.
The hole should be deep enough so that the supplied wall plug sits flush with the wall once inserted into the hole. If necessary, gently tap the wall plug with a hammer to ensure that it is flush. Then fit the supplied washer and screw the bracket into the wall plug.
Repeat this process for all the necessary fixings on the shelf. Once all the screws have been fitted, slide the shelf halfway onto the screws. Tighten the brackets as much as possible into the wall, using the spanner and use the spirit level to ensure the shelf is level while doing this.
For Adjustable Brackets: Using a 7mm drill bit, drill a 50mm hole into the wall at the centre points of the marks you have made in the wall. Make sure to keep the drill as level as possible - being perpendicular to the wall. You can determine the depth that you’re drilling, by wrapping some masking tape around the shank of the drill bit, 50mm from the drill point of the drill bit.
Apply the bracket to the wall with the lip facing upwards. The bracket usually has a series of slots or holes that allow you to adjust the height of the shelf. These slots or holes may be evenly spaced or may have more options in areas where you need more flexibility. Our adjustable brackets have screws or locking mechanisms that you can use to secure the shelf to the brackets.
Step 5: If you would like to add some more security, you could add a small amount of glue (not provided) into the holes of the shelf and leave it to set for 2 hours however this isn't necessary. After this, you are ready to enjoy your shelving!

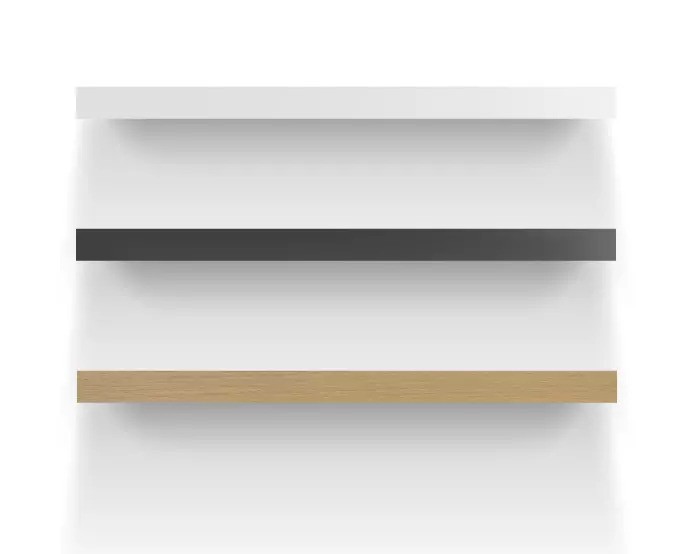
Floating Shelves
Veneered with real wood. Made-to-measure floating shelves designed to fit any space perfectly.
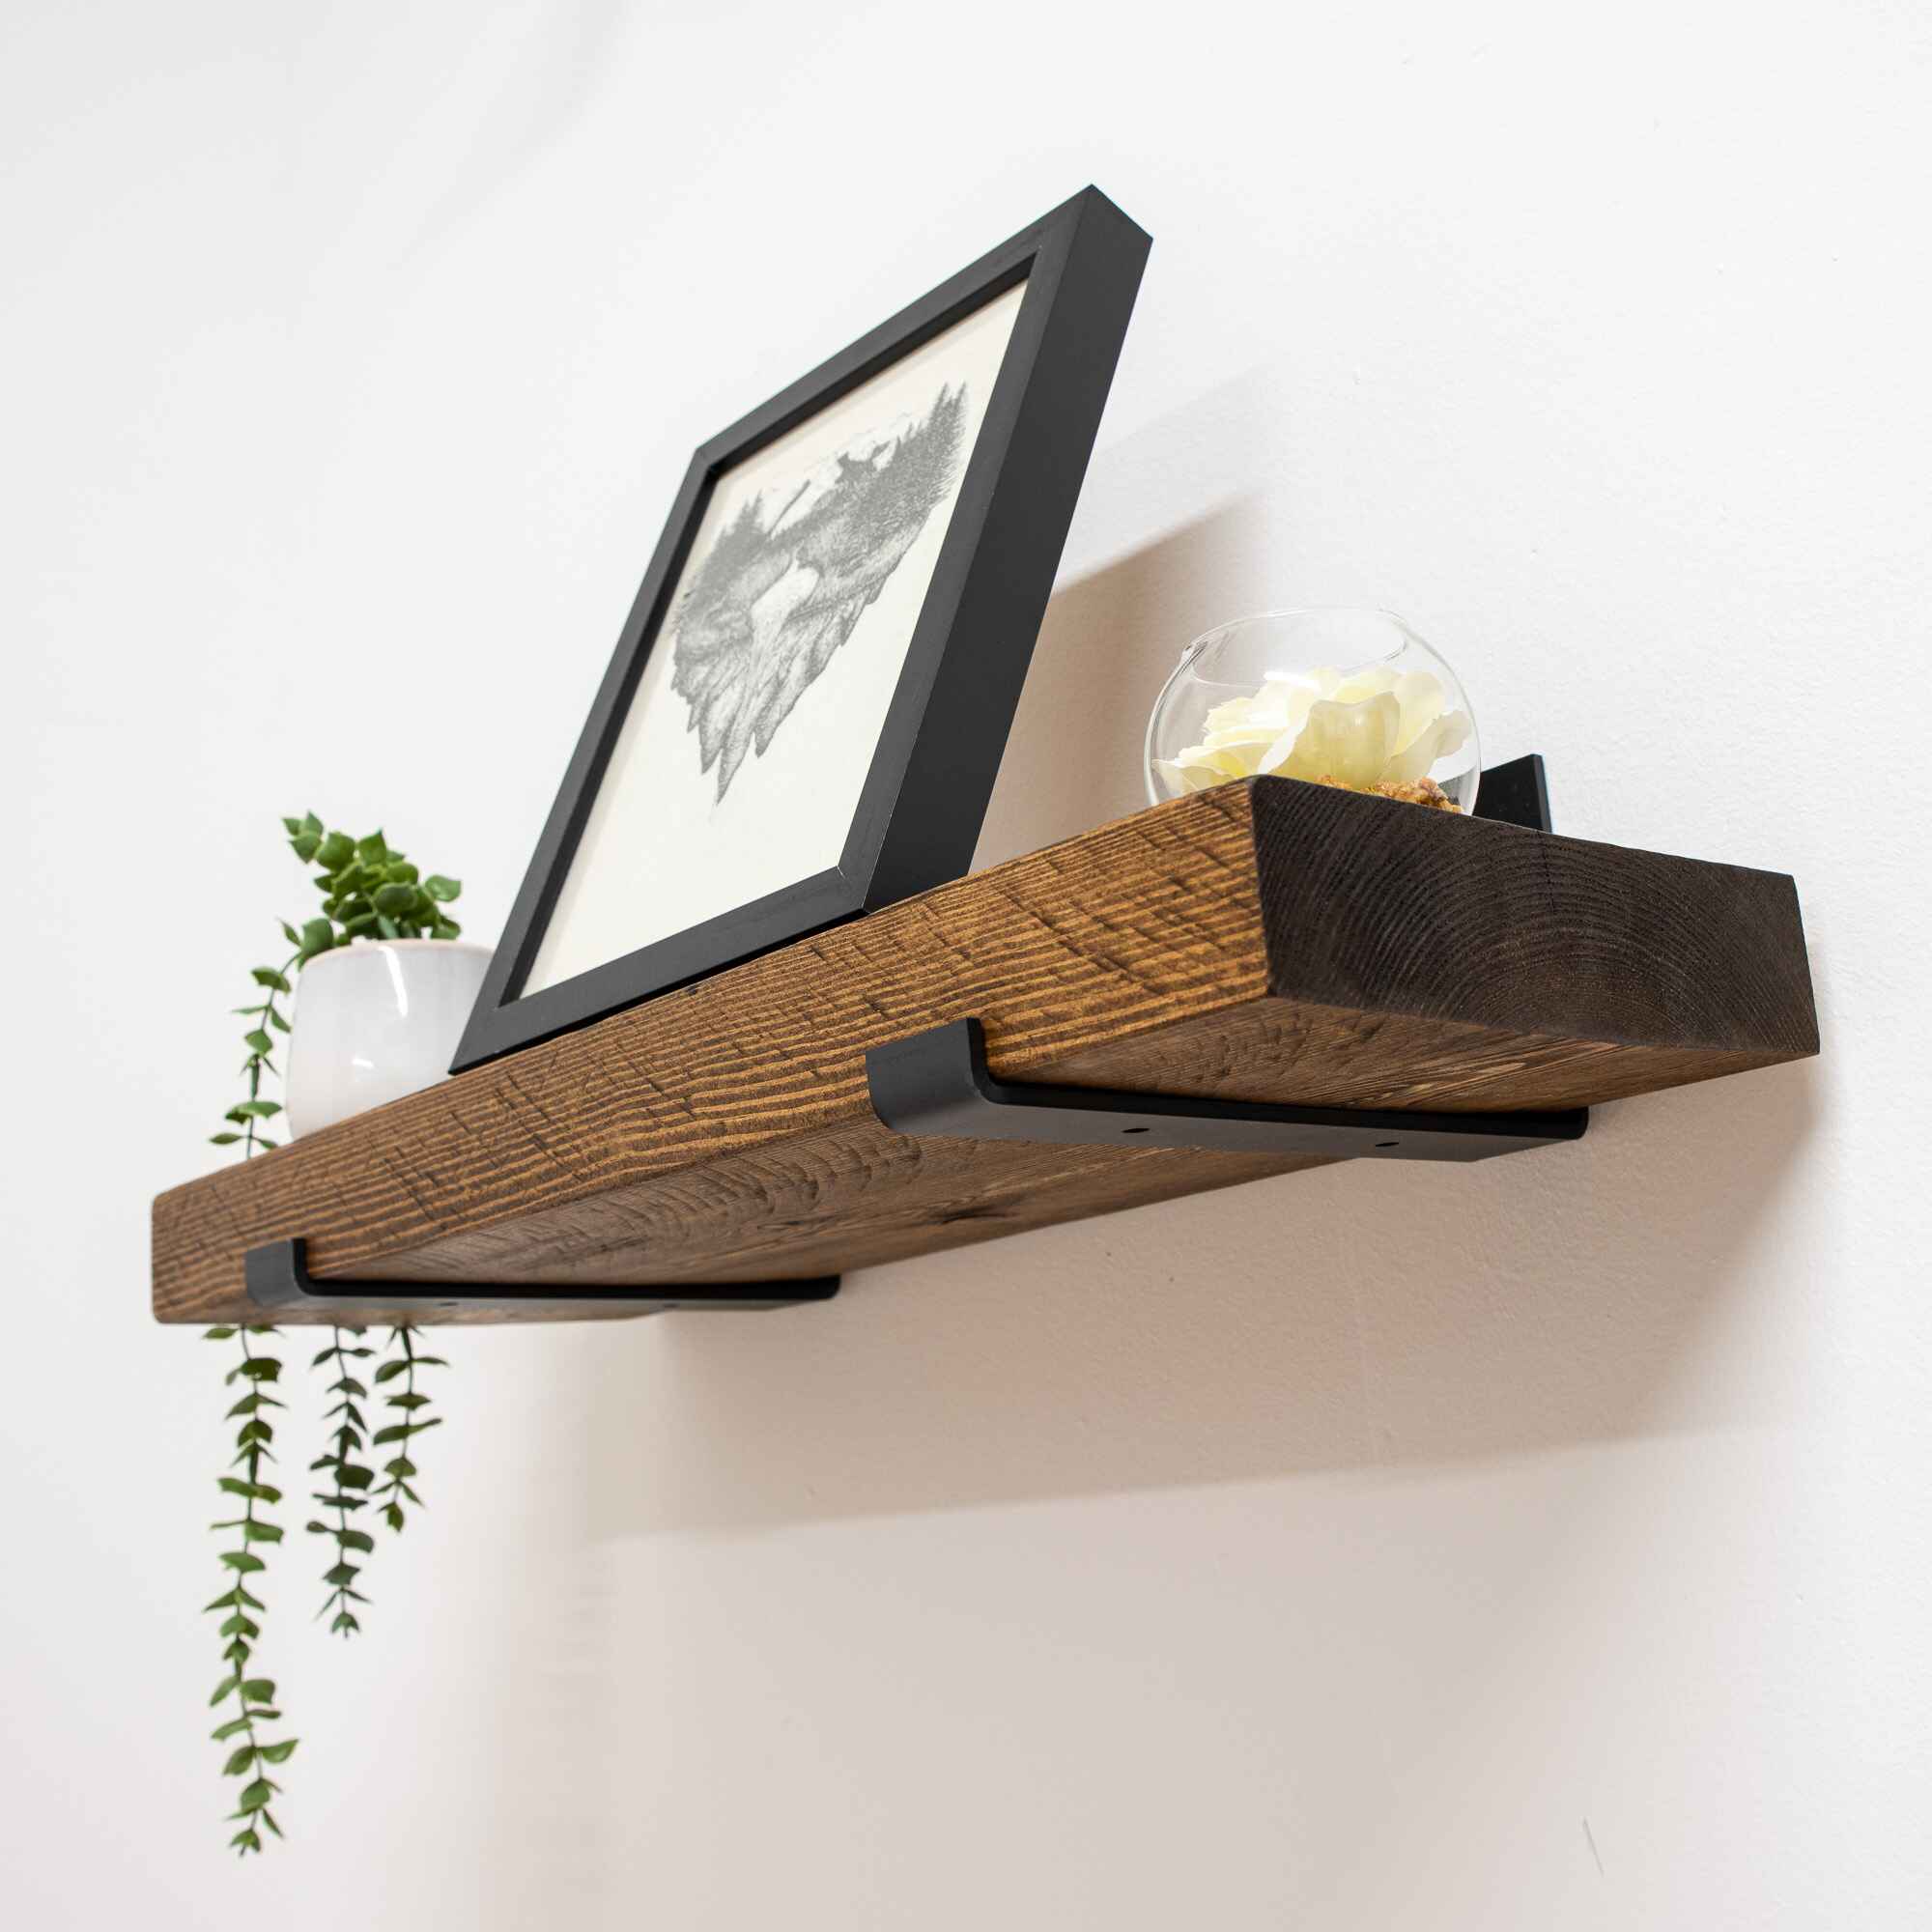
Scaffold Shelves
Looking for a more rustic look? Check out our range of cut-to-size pine & MDF scaffold shelves.

