Founder
James Bryant is the Founder of Cut My, an online retailer providing quality materials for home improvement and DIY projects. An avid DIY enthusiast himself, James started Cut My to share his passion for building and making things.
5% OFF orders £50+ with SPRING24 | Winter Clearance - Up to 30% off

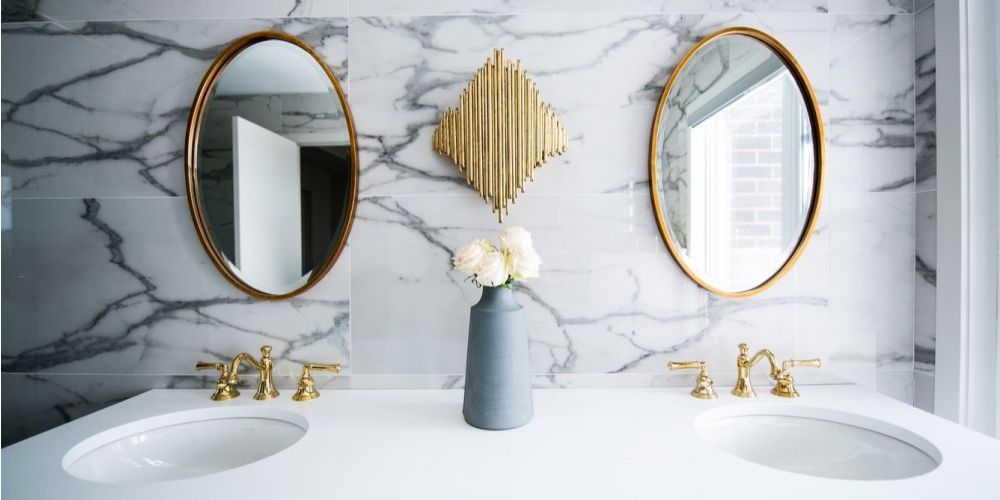
Adding mirrors to a room is a great way to add some light or depth to a room. With a multitude of uses, mirrored acrylic is fantastic to use both indoors and out, from the garden to a child’s playroom, with added safety features making it a preferred option to traditional glass mirrors.
While we have provided this self-installation guide, we do strongly advise that you use a professional to install your mirrors. This will help ensure that you obtain a finish to the product that meets your expectations.
This guide will walk you through the process of backing large mirrored acrylic onto an MDF board, giving it that same undistorted reflection as our smaller sheets. Please be aware that any scratches to the reverse side of the mirrored acrylic will show in the reflection when fitted, so ensure you handle the product with care.
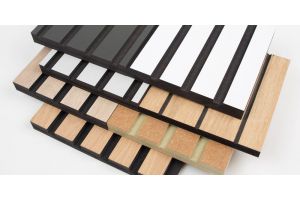
We recommend that any mirrored acrylic sheets ordered above the size of 1m2 should be ordered to a minimum thickness of 5mm and will require a suitable backing, in order to provide a high-quality finish.
To back your mirrored acrylic to equally high quality, we highly recommend a flat, strong board, such as our 18mm MDF. It is also worth noting that once the mirrored acrylic is installed, we are unable to accept returns.
Before beginning, make sure to test your adhesive on a small area of your plastic, to confirm that it does not affect the reflective surface. Alternatively, our mirrored acrylic can also be mechanically fixed using screws. When ordering make sure to add your fixing holes and mirror screws.
Please be aware that using screws makes installation without distortion harder to achieve, particularly on larger sizes. For this installation guide, we will be using adhesives.


We're Here to Help
Our Help Centre is available 24/7 to explore FAQs, discover DIY ideas and advice, and even ask our community of fellow DIY enthusiasts.
Verified
Verified
Verified
Verified
Verified
Verified
Verified
Verified
Verified
Verified
Verified
Verified
Verified
Verified
Verified
Verified
Verified