One of the most common questions associated with acrylic or Perspex is can scratches be removed or repaired? The answer depends on how bad the damage is, but in most cases, they can be removed relatively easily. Follow our guide on how to repair visible damage to your acrylic sheets.
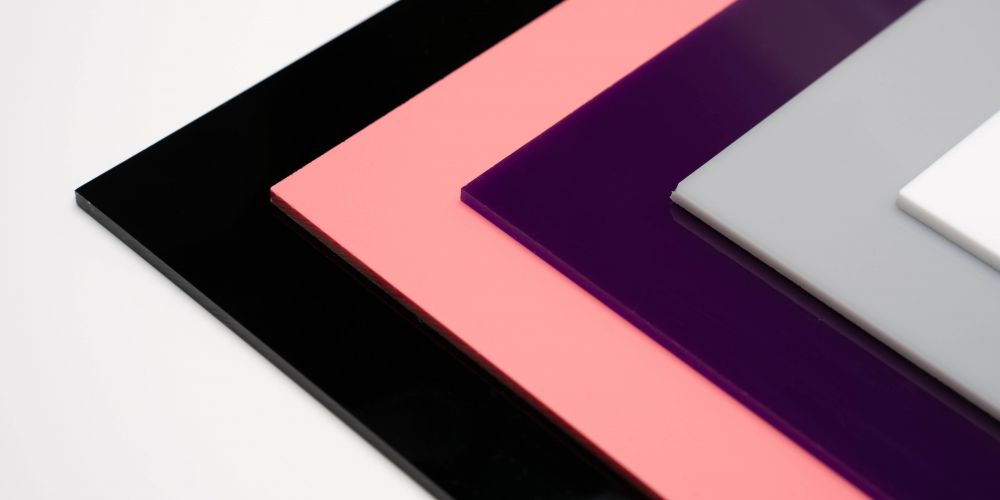
The first thing to check is that the material you’re repairing is acrylic. Acrylic is a widely used material that’s incredibly versatile, being used in fish tanks, picture frames, splashbacks, furniture as acrylic table tops and acrylic mirrors, to name just a few of the applications. If your scratched plastic is clear, then it’s most likely acrylic or polycarbonate which are the most commonly used plastics.
It’s worth noting that scratches can be removed more easily from acrylic than polycarbonate, so you may not have as much success if the damaged material is a polycarbonate sheet. Naturally, lighter scratches can be buffed out more easily than deeper ones.
However, if the scratch is any deeper than 5mm, it’s probably not worth doing as it’s unlikely to buff out. Likewise, if the scratches cover more than 30% to 50% of the area, or if the acrylic is very old, the cost of replacing the item or pane of acrylic probably will outweigh the effort required to fix it.
For light scratches on acrylic
To remove light scratches in your acrylic, you’ll need an acrylic or plastic polish, 800 and 1200 grit sandpaper and water to soak the sandpaper with.
Wet a piece of the 800 grit sandpaper and run it over the marked area in a circular motion, then repeat with a dry piece of the same grit sandpaper – you’ll need to alternative between these wet and dry sheets for around three minutes. Don’t panic if the acrylic begins to look frosty or have more scratches on it, as this is part of the process. Once you’ve done this, move on to the 1200 grit sandpaper and repeat the same process until all of the scratches have disappeared. Lastly, dry the area with a clean cotton cloth and apply the acrylic polish. The result should be a piece of acrylic that looks as good as new, with no visible marks.
For deeper scratches to acrylic
Deeper scratches require a bit more effort to remove, but it’s not always a lost cause. To check the depth of the scratch, run over it with your fingernail – if it catches, you can consider it a deep scratch and the following method may work to remove it.
While the process is similar to the one above, this time you’ll begin with 600 grit sandpaper. As before, wet one piece of 600-grit sandpaper and use circular motions over the scratched area for around three minutes, alternating with a dry piece as well. Next, do the same with the 800 grit paper for a further few minutes and finish with the 1200 paper until the scratches have disappeared. Dry the area with a clean cloth and then restore the shine with the acrylic polish.
You can restore the glossy shine of acrylic by flame-polishing thin sheets of acrylic (anything below 4mm thick) and then sanding or buffing the sheets. A less labour-intensive and quicker option is to choose a good quality acrylic polish which will maintain the clarity of the acrylic and can be used safely at home.
If you need any advice on how to repair acrylic or if you need to replace some plastic sheeting in your home, give our friendly team a call or drop us an email and we’ll be happy to help.
We're Here to Help
Our Help Centre is available 24/7 to explore FAQs, discover DIY ideas and advice, and even ask our community of fellow DIY enthusiasts.
Ordered oak veneered mdf board. Look and quality of veneer better than I had hoped for.
DEVON BEN,
17 hours ago
Verified
Cut plastic
Plastic cut to size and delivered quickly. I have used this seller before and will again for all my cut plastic needs.
Richard Turner,
19 hours ago
Verified
Excellent service
Excellent service. Arrived on time, the perfect size and well packaged.
Alex S,
1 day ago
Verified
Thanks very much.
Thanks very much.
Whitegate Joinery,
1 day ago
Verified
Quick turnaround
Great service / comms and delivery time.
Thank you!
Pissed off of Peterborough,
1 day ago
Verified
Perfect for the job in hand
Perfect for the job in hand.
Delivery took longer than expected.
W Carr,
1 day ago
Verified
Cut plastic to exact size
Cut plastic to exact size all fitted perfectly in my greenhouse i have inherited on my new allotment plot
Barry Customer,
1 day ago
Verified
Exactly as ordered and delivered on time
Exactly as ordered and delivered on time
Darran McDade,
1 day ago
Verified
Great product
Happy with the product (perspex table top), also with the customer service, they were helpful after I made a mistake with my measurements. The only thing I would say slightly negative is that I did order a polished edges (as I have very young children) but the table tops edges albeit polished - at the 'bottom' parts of the edging they are still very sharp, enough for a serious cut, god forbid a child would drag their hand along. As I am not sure if the perspex wouldn't crack if we tried to 'smooth' that edging ourselves, for now we've put a sellotape all around the edging and that made it ok.
Miss Silvia D,
1 day ago
Verified
Good price and service.prompt delivery.
Good price and service.prompt delivery.
Richard Rugman,
1 day ago
Verified
Brilliant service
Brilliant service, ordered what was required online and called to discuss which way I wanted the grain of the wood. Everything arrived in a timely manner and was perfect. No damaged edges or anything
Carl Swift,
1 day ago
Verified
very easy to organise
very easy to organise
john hawkins,
1 day ago
Verified
I'm a very happy returning customer.
I've used My Cut a few times now. I'm very happy with the quality of the wood and cut. Plus the wood is always packed well for delivery. I've actually just ordered another piece of wood cut to size.
Alan,
1 day ago
Verified
We ordered two specific sized 250x250mm…
We ordered two specific sized 250x250mm pieces in ash and maple for comparison and both pieces just perfect in quality and finish
ISL,
1 day ago
Verified
Easy to order on line -perfect sizing prompt delivery
Easy to order on line -
Guest,
1 day ago
Verified
Good communication
At the beginning there was a delay with the order, this was fine because the company gave me a heads up that there would be a delay. The product arrived well packed so no worries about any damaging. I would just say personally I think it was a bit expensive but I needed such a small quantity it wasn't worth buying my own frosted acrylic sheet and doing it myself. I would definetely recommend this company because they service is quick and reliable.
Customer,
2 days ago
Verified
The measuring process was simple, straightforward and worked well
The process of measuring, ordering and receiving the sheets was straightforward and the final product was excellent and fitted perfectly. I have no hesitation in recommending the company and the product
Raymond Couch,
2 days ago
Verified
Looks great!
Easy website and not that much more expensive than doing from scratch but far less hassle.
Elizabeth,
2 days ago
Verified
Spot on!
Spot on!
Firstly, outstanding packaging so as to prevent delivery damage - very important yet often overlooked.
Secondly, I know this company make the claim to cut to exact size... but they really did! The piece was for a specific place (as I'm sure all their work is) and it had to be millimetre perfect ...and it was!! I said 1161mm and it was exactly 1161mm, including the finished edge. Not a hair's breadth of gap can be seen - it's perfection - thank you!
Mark Ryan,
2 days ago
Verified
Hi, Good day to you Unfortunately, ordered product was not suited for my purpose. So kindly revoke the product ASAP. Thanks
Hi,
Good day to you
Unfortunately, ordered product was not suited for my purpose.
So kindly revoke the product ASAP.
Thanks
Paramalingam Pakiratharuban,
2 days ago
Subscribe to our email newsletter
Sign up here for our occasional email newsletter with new products, design ideas and discounts across our huge and growing range of products. (You can unsubscribe at any time of course.)